Have you ever tried to take your own digital passport photo only to find out it got rejected? One of the most common reasons for rejection is the photo size—not matching the exact specifications set by the US Department of State. But don’t worry! Measuring your US passport photo size at home is totally doable with just a few tools and a little know-how. This guide will walk you through everything you need to get that perfect 2×2-inch passport photo right from your own living room.
Passport Photo Requirements
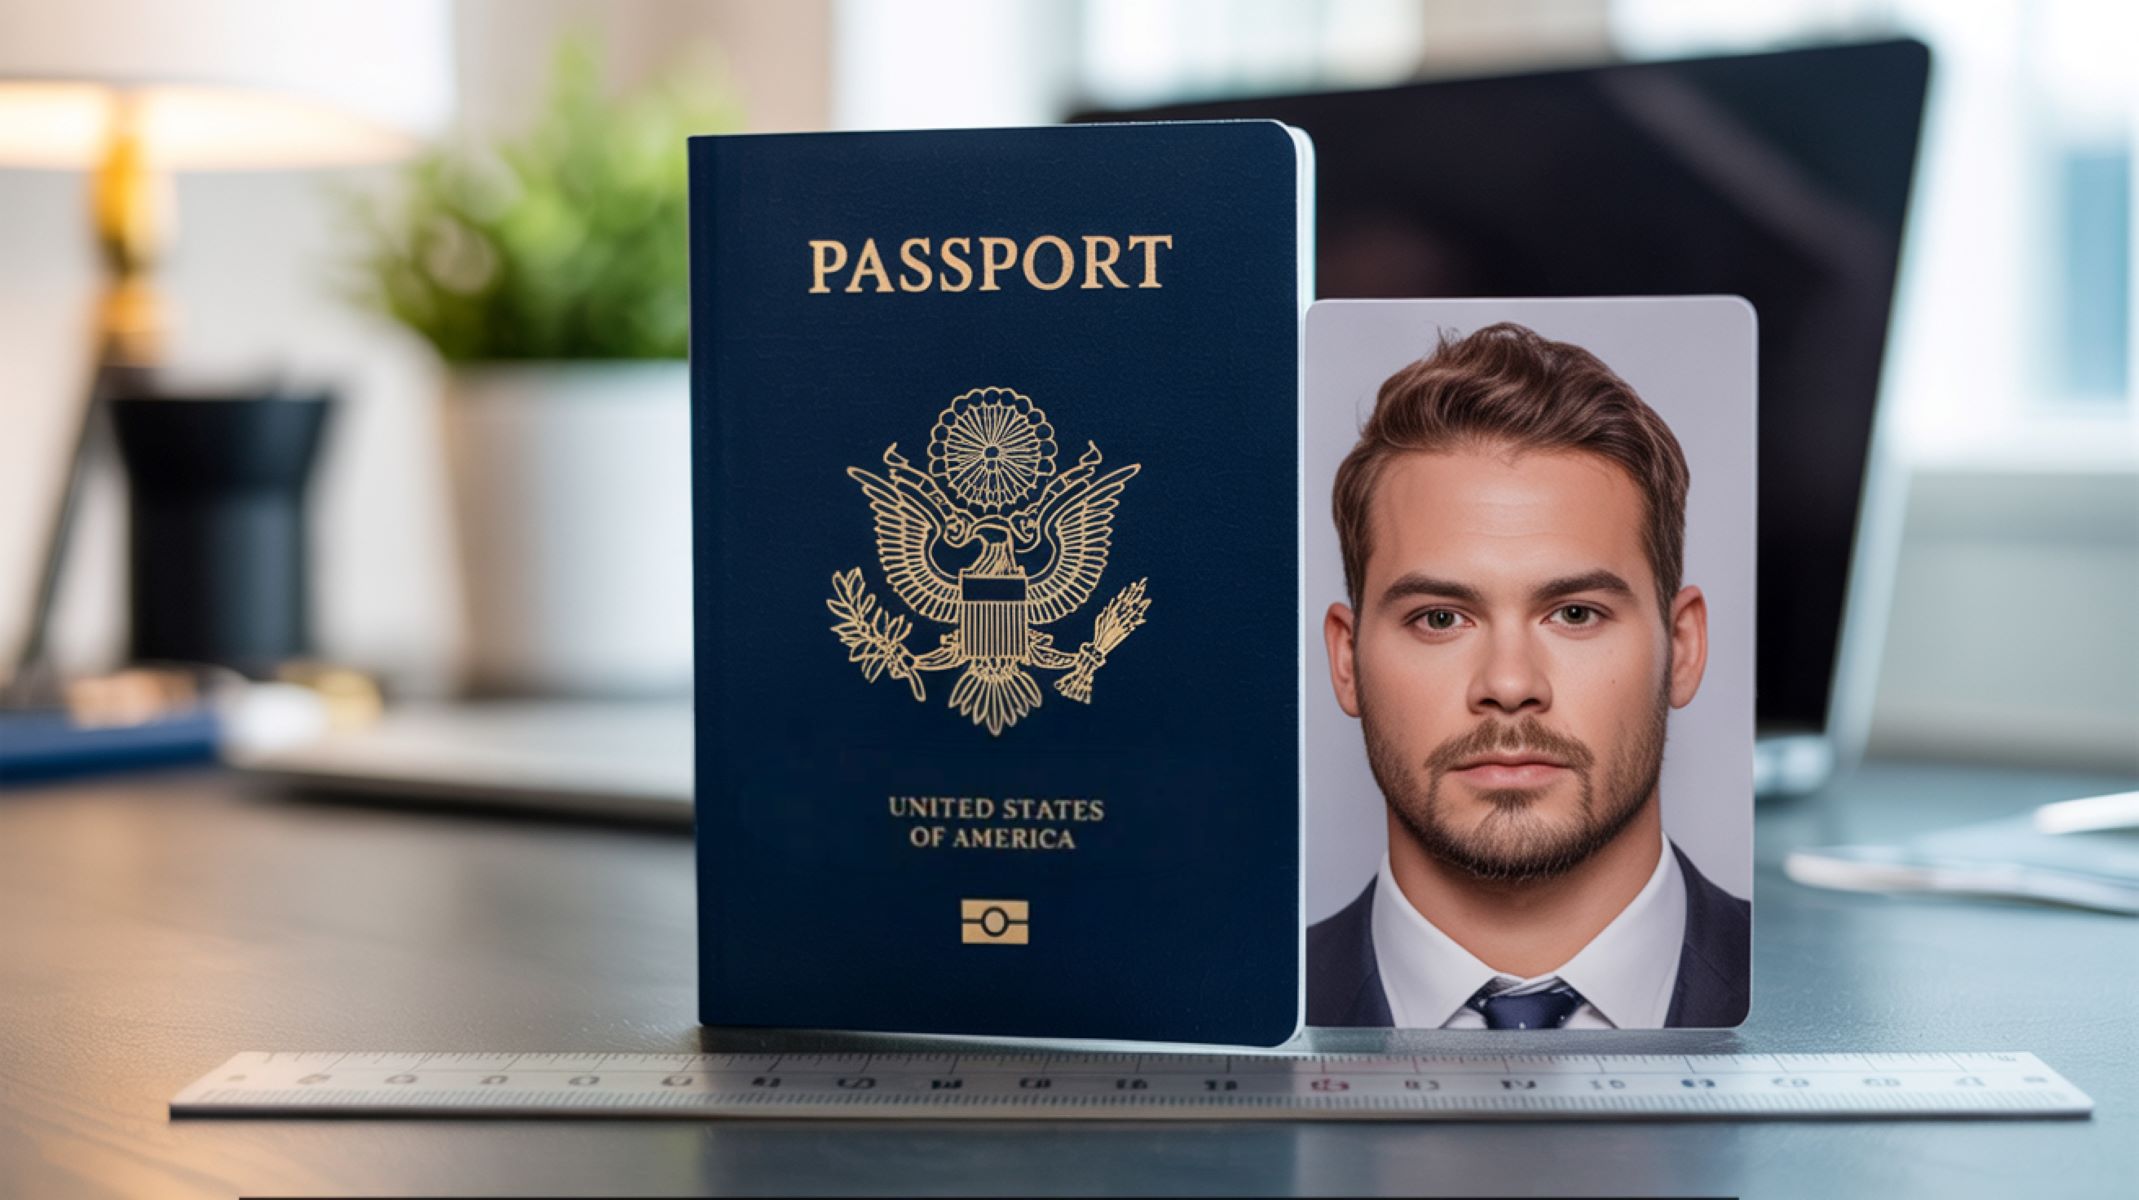
Before you start measuring your passport photo, it’s important to understand the official requirements set by the U.S. Department of State. The overall size of a U.S. passport photo must be exactly 2 inches by 2 inches (51 mm x 51 mm). This square dimension is non-negotiable and ensures your photo fits perfectly into the passport booklet. But getting the photo size right is only part of the puzzle. The photo must also follow strict guidelines about the size and position of your head within the frame. For instance, the height of your head, measured from the bottom of your chin to the top of your head, should be between 1 inch and 1 3/8 inches (25 mm to 35 mm). This range is designed to make sure your face is large enough to be clearly visible but not so large that it cuts off parts of your head or shoulders.
Key Measurements to Know
When measuring your passport photo, there are three key dimensions you need to focus on to meet the official standards. First and foremost, the overall photo size must be exactly 2 inches by 2 inches. This is the official size requirement that applies to all U.S. passport photos. Even a small deviation in the photo’s dimensions can result in the photo being rejected, so precision is very important. You should use a ruler or measuring tape that clearly shows inches to check the size of your printed photo accurately.
Second, the head height—the distance from the bottom of your chin to the top of your head—must fall within a range of 1 inch to 1 3/8 inches. This ensures your face takes up the right amount of space in the photo, making your facial features clear and recognizable. Third, the eye position is measured from the bottom of the photo up to the level of your eyes, which must be between 1 1/8 inches and 1 3/8 inches. This measurement guarantees that your eyes are positioned correctly within the frame, which is essential for biometric scanning and human verification. Keeping these three measurements accurate will help you produce a passport photo that meets all official guidelines.
Tools You’ll Need to Measure Your Passport Photo at Home
Measuring your passport photo at home doesn’t require any expensive or complicated tools. In fact, you can get perfectly accurate measurements using just a few simple items that most people already have around the house. The most essential tool is a ruler or measuring tape that clearly displays measurements in inches. Since the official US passport photo requirements use inches, it’s important to have a measuring device with precise inch markings to avoid confusion or mistakes. A hard ruler is ideal for measuring printed photos, but a flexible tape measure can also work well if your photo isn’t completely flat.
Besides a measuring tool, you’ll also need a way to capture or print your passport photo. This is where a smartphone or scanner comes in handy. Modern smartphones have high-quality cameras that can take sharp, well-lit photos suitable for passport use, as long as you follow the guidelines properly. If you prefer, you can scan a printed photo to check its size or use the scanner to digitize a photo you plan to upload. Lastly, while not strictly necessary, photo editing software or free apps can be incredibly useful. Programs like Photoshop or free alternatives allow you to crop, resize, and fine-tune your photo to meet exact size specifications. There are also many dedicated passport photo apps available for smartphones that provide built-in templates and measurement guides to help you get it just right.
In summary, the basic tools you’ll need include:
- A ruler or measuring tape (preferably one that measures in inches).
- A smartphone or scanner to capture or print your photo.
- Optional: Photo editing software like Photoshop or free apps that can help with resizing and cropping.
Using these tools together will give you a reliable way to measure and prepare your passport photo accurately at home.
Step-by-Step Guide to Measuring Your Passport Photo Size at Home
Taking accurate measurements of your US passport photo at home is easier than you might think, but it requires careful attention to detail at every step. Let’s walk through the entire process so you can be confident your photo meets the official standards.
| Step | What to Do | Measurement Details | Tips and Notes |
| Step 1: Print Your Photo Correctly | Use a high-quality printer and photo paper to print your photo | Photo should be printed at 100% size, no scaling | Avoid “fit to page” or resizing options |
| Step 2: Measure Overall Photo Size | Measure the edges of the printed photo with a ruler | Must be exactly 2 inches x 2 inches | Small deviations can cause rejection |
| Step 3: Measure Head Size | Measure from bottom of chin to top of head (including hair) | Head height between 1 inch and 1 3/8 inches | Hair must not cover face, neat grooming necessary |
| Step 4: Check Eye Position | Measure from bottom edge of photo to center of eyes | Eyes must be 1 1/8 to 1 3/8 inches from bottom | Crucial for facial recognition and biometric scanning |
Step 1: Print Your Photo Correctly
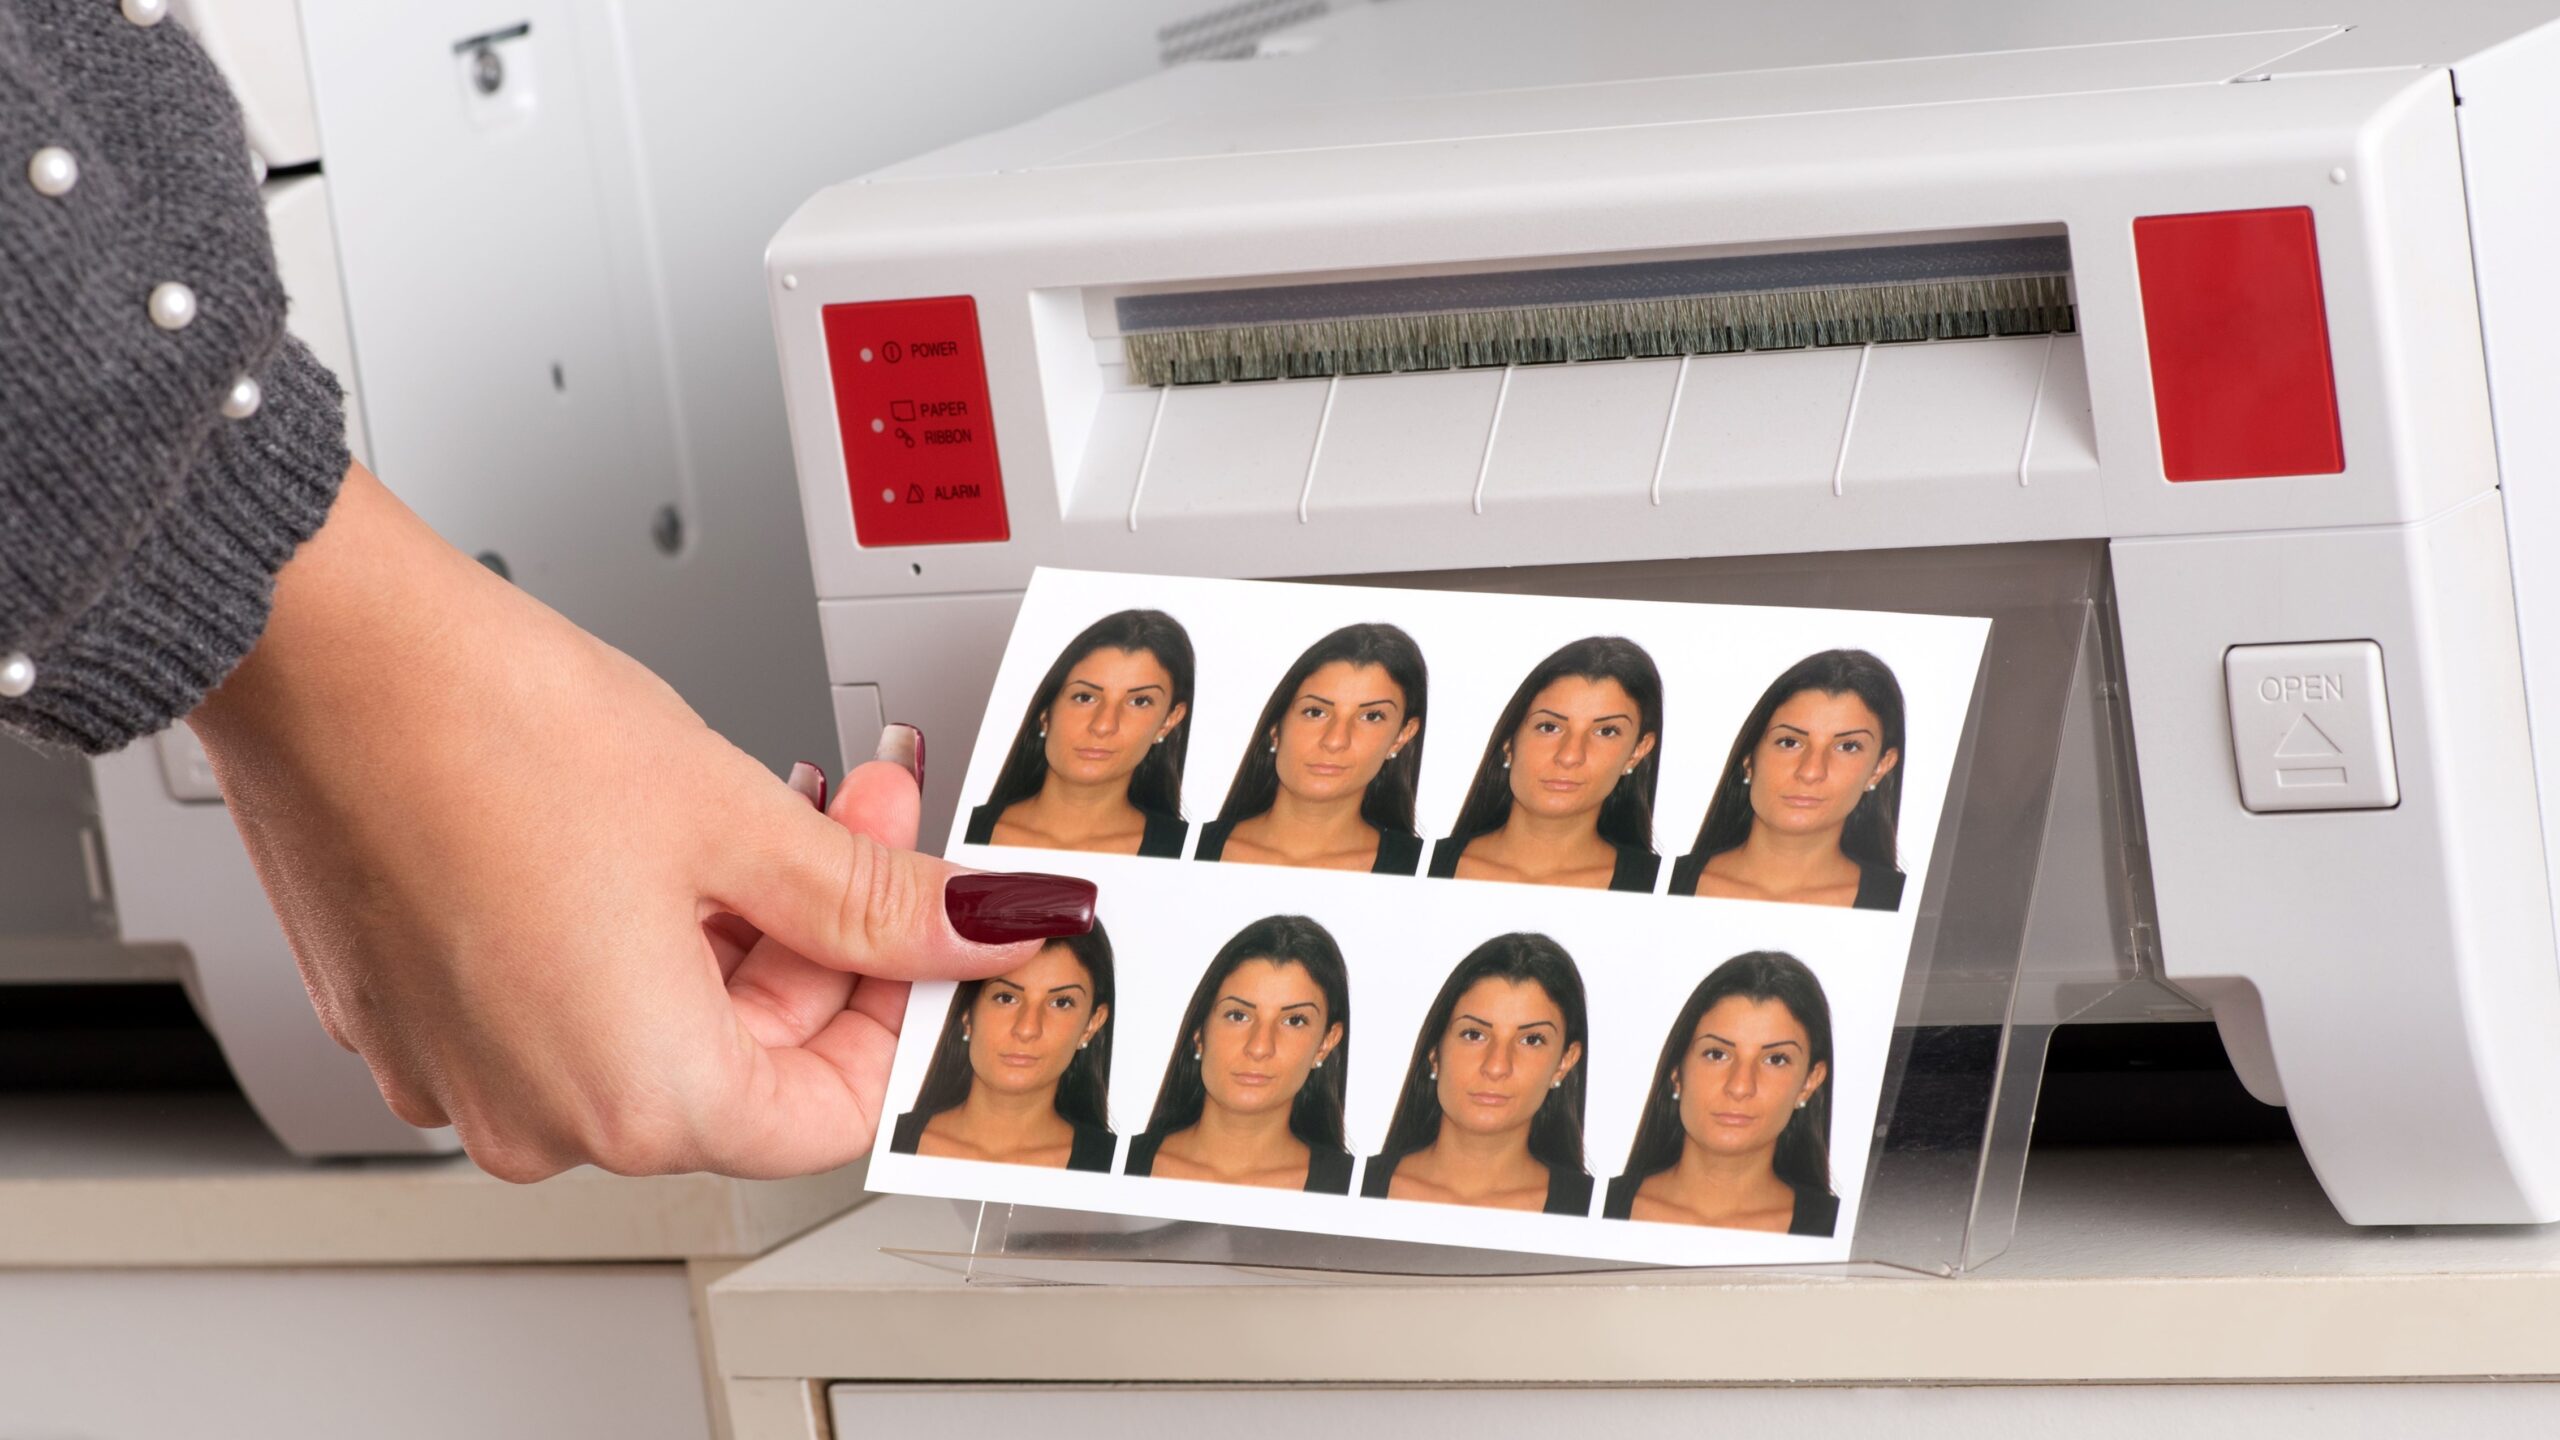
The very first step in measuring your passport photo is to make sure it’s printed correctly without any distortion. Using a high-quality printer is key — preferably one designed for photos — and use good photo paper, such as glossy or matte finish. When printing, always set your printer preferences to “actual size” or 100% scaling. This prevents the printer from resizing your image automatically, which is a common cause of incorrect photo dimensions. Avoid options like “fit to page” or “shrink to fit,” as these will alter the size and make your photo non-compliant.
Printing your photo properly also means ensuring it’s not cropped incorrectly or stretched. Once printed, the photo should appear square and sharp without any pixelation or blur. If your printer software doesn’t give you a clear way to control size, try exporting your photo as a high-resolution JPEG or PNG and print it using a professional photo service or app that respects exact dimensions. This way, you’ll be off to a great start before any measurement takes place.
Step 2: Measuring the Overall Photo Size
Once your photo is printed, grab a ruler or measuring tape with inch marks and carefully measure the edges of your photo. The entire photo must be exactly 2 inches by 2 inches — not a fraction more or less. Even a slight variation can lead to your passport application being rejected. Accuracy here is critical. If your photo is too large, you’ll need to adjust printer settings or crop the digital file before printing again. If it’s too small, it means the image may have been scaled down during printing or editing.
Take your time measuring all four edges to ensure the photo is a perfect square of 2×2 inches. Some printers can produce slight variations due to margins or scaling, so if you find the dimensions off by even 0.1 inch, double-check your printer’s size settings or try printing from another device. Consistency is key because this overall size sets the foundation for all other measurements like head size and eye placement.
Step 3: Measuring the Head Size
The next important measurement is the size of the head within the photo. Using your ruler, measure from the bottom of the chin to the top of the head including hair, as long as it’s neatly groomed and does not cover your face. This height must fall between 1 inch and 1 3/8 inches (25 mm to 35 mm). If your head is too small within the photo, your face won’t be clearly visible for identification. Conversely, if it’s too large, parts of your head or face might be cut off, making the photo invalid.
Make sure your hair is styled so it doesn’t obscure your forehead or the sides of your face, as this can affect the measurement and how officials perceive your photo. You might want to measure several times to be certain, since even small errors can impact whether the photo passes official scrutiny. This step ensures your facial features are the right size and proportion in the final photo.
Step 4: Checking the Eye Position
Finally, measure the distance from the bottom edge of the photo to the center of your eyes. Your eyes need to be positioned between 1 1/8 inches and 1 3/8 inches from the bottom of the photo. This is an essential measurement because it determines how your face is centered vertically, which is crucial for biometric verification systems used by the US government.
Positioning your eyes correctly within this range helps ensure the photo matches passport standards and avoids common rejection reasons. If your eyes fall outside this range, you may need to crop or resize your photo digitally and reprint it. Use a ruler carefully to pinpoint the exact center of your eyes, and check this measurement at least twice. Keeping your head straight and facing forward during the photo shoot helps simplify this measurement step.
Using Digital Tools to Measure Passport Photos
Measuring your passport photo digitally can save time and help ensure precision. Many smartphone apps and software tools are designed specifically to help with passport photo sizing and compliance. These apps often come with built-in templates that automatically crop and resize your photo to fit the exact US passport photo requirements, including size, head height, and eye position. Some popular apps you can try include Passport Photo Maker, IDPhotoStudio, and even general photo editing apps with cropping guides.
Alongside apps, there are also online passport photo validators where you upload your photo, and the website automatically checks whether your photo meets size and positioning standards. These validators quickly analyze your photo and tell you if it passes or if adjustments are needed. However, it’s always a good idea to double-check your photo manually with a ruler after printing, just to be 100% certain. Combining digital tools with manual measurement offers the most reliable way to prepare a compliant US passport photo.