Let’s be honest: we live in a selfie era. From brunch snapshots to impromptu vacation pics, our phones have become our go-to cameras. But what about something a bit more serious—like ID photos? Have you ever wondered, “Can I really just take one with my phone and call it a day?” Let’s unpack that together.
Requirements of ID Photos
ID photos in the United States are subject to strict requirements set by government agencies like the Department of State (for passports) and the Department of Motor Vehicles (for driver’s licenses). These are not just casual photos—they are used to verify your identity in official records. That means they have to follow certain legal specifications to ensure consistency, accuracy, and compatibility with facial recognition systems. These guidelines are not suggestions—they’re mandatory, and failing to meet them can lead to your application being rejected.
Here are the most common government rules for ID photos in the U.S.:
- A white or plain off-white background with no patterns or objects.
- A neutral facial expression (no smiling, frowning, or exaggerated expressions).
- High-resolution image that shows clear facial features.
- No filters, beauty enhancements, or digital retouching.
- Both eyes open, with your head centered and facing the camera.
- No glasses (as of 2016 for U.S. passport photos).
- Clothing should be normal everyday wear—no uniforms, hats, or anything that obscures your face (unless for religious reasons).
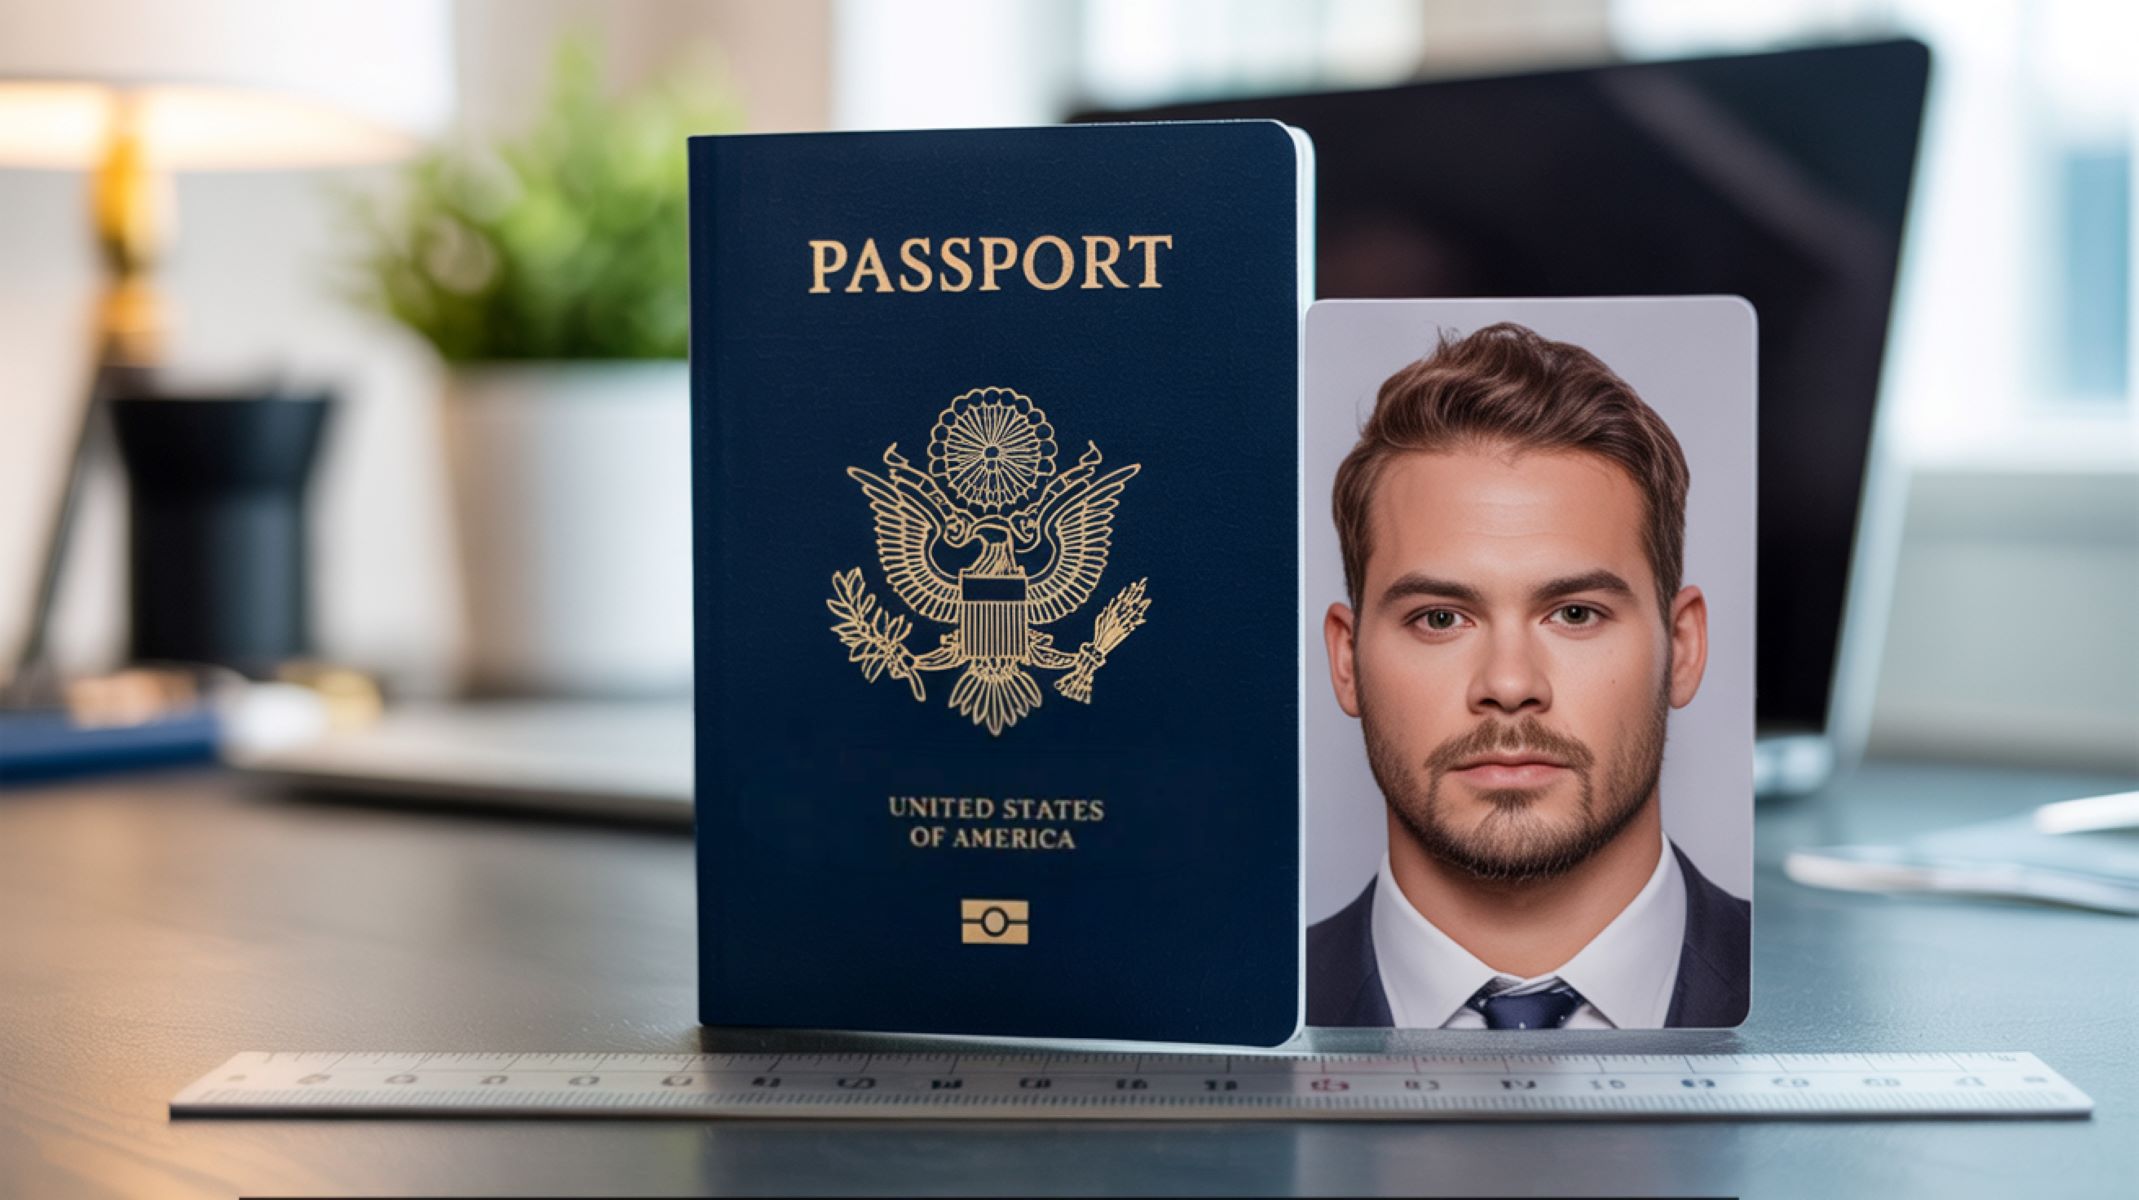
From a technical standpoint, ID photos must meet certain size and quality specifications to be accepted. For example, a U.S. passport photo must be 2 x 2 inches (51 x 51 mm) with the head size between 1 inch and 1 3/8 inches from the bottom of the chin to the top of the head. The digital version must have a resolution of at least 600 x 600 pixels and not more than 1200 x 1200 pixels. Clarity is key—any blurring, overexposure, or pixelation can disqualify the photo. That’s one area where selfie cameras may struggle if not used carefully.
Lighting is also a major factor. ID photos should be taken in even, shadow-free lighting. That means no harsh light from one side, no shadows under the eyes, and no reflections on your skin. Natural daylight from a window can help, but even then, it’s tricky to control. Most front-facing selfie cameras on smartphones are designed for flattering, not accurate lighting. They often smooth out skin textures and introduce soft glows—great for social media, not so great for government IDs. Consistency in background, lighting, and face angle is non-negotiable for meeting U.S. ID standards.
The Evolution of Smartphone Cameras
Let’s take a trip down memory lane. A decade ago, selfie cameras were mostly an afterthought—think grainy VGA sensors and poor low-light performance. Those early cameras were fine for casual snapshots but nowhere near the quality needed for a formal ID photo. Back then, even the idea of taking your own ID photo at home would have been considered a joke. Fast forward to today, and smartphone cameras have evolved dramatically. The latest iPhones, Samsung Galaxy models, and Google Pixels come packed with cutting-edge technology.
Modern smartphone selfie cameras offer:
- 12MP+ resolution (sometimes even higher on flagships).
- Smart HDR that balances highlights and shadows.
- AI-powered face detection and auto-exposure.
- Portrait mode with simulated depth of field.
- Night mode that brightens low-light scenes.
- Beauty filters (which must be turned off for ID photos).
Despite all these advancements, the selfie camera’s primary design remains focused on producing aesthetically pleasing images for personal use. Most phones still apply some form of automatic skin smoothing or color correction, even when filters are turned off. While these features improve social content, they can distort the accuracy required for ID photos, which demand a raw and unedited appearance.
Can Selfie Cameras Meet ID Photo Standards
Resolution – Is It High Enough
Technically, yes—modern selfie cameras can easily meet the 600 x 600 pixel minimum resolution required by U.S. agencies. In fact, most current smartphones capture images that are many times that size, offering ample clarity and detail. But it’s not just about raw resolution. ID photos must be clear and detailed enough to allow facial recognition systems to pick up fine features. Compression artifacts, digital noise, or motion blur—even at high resolution—can make a photo unusable.
Here’s the catch: many people compress their photos when sending them via email or uploading to government portals. And not all selfie camera software captures in the highest quality by default. Some apps downscale or compress files to save space, which could affect sharpness. If you’re using a selfie camera for ID photos, you’ll need to manually ensure the image is captured and saved at full resolution with no edits or compression before submitting.
Lighting and Shadows – The Unseen Problem
Selfie cameras often rely on the ambient light in the room, and most people don’t have studio lighting at home. That’s where problems start. Poor lighting can create unwanted shadows—under the eyes, across the face, or on the background—which are grounds for automatic rejection. Inconsistent lighting also causes the camera to misjudge skin tones, leading to unnatural color balance that might violate ID photo rules.
To get proper lighting, you need even, diffused light from multiple directions—not something most selfie setups can provide. Front-facing flashes (if your phone even has one) are often too harsh or create red-eye effects. This is why many government websites suggest having someone else take the photo using the rear camera in a well-lit room instead of relying on a front-facing selfie.
Angle and Perspective – Not as Easy as You Think
Another major issue with selfie cameras is the camera angle. Most people hold their phones slightly above their eye line, which creates an unnatural downward view of the face. For selfies, that looks flattering. But for ID photos? It’s a problem. The official guidelines clearly state your face must be directly facing the camera, not tilted, turned, or shot from above.
Holding the camera at arm’s length also introduces lens distortion. Front cameras often have wide-angle lenses that can slightly warp facial features at close range, making your nose look larger or your jaw narrower. These subtle distortions matter when facial geometry needs to be recorded accurately for IDs. This is another reason why using the selfie cam for something as serious as an ID photo is tricky—even with all the megapixels in the world, angle and distance make a difference.
Pros of Using a Selfie Camera for ID Photos
Let’s face it—convenience is king. One of the biggest advantages of using a selfie camera for ID photos is the ability to do it anytime, anywhere. You don’t have to schedule an appointment or travel to a photo studio or pharmacy. Want to take your photo at midnight in your pajamas? Go for it. If you’re applying for a passport or renewing your license online, this flexibility is a huge bonus. In fact, during the COVID-19 pandemic, many people turned to their phones out of necessity—and it worked.
Why spend $15 to $20 at Walgreens, CVS, or a professional studio when your smartphone can do the job for free? If you’re on a budget—or simply don’t want to overpay—taking your own ID photo with a selfie camera is a practical solution. There’s no special gear required other than your phone and maybe a white wall or sheet. Combine that with a free editing app, and you’ve just saved a nice chunk of change.
Plus, there’s no pressure. At a photo studio, you usually get one or two takes, and if you blink or look weird—too bad. With a selfie camera, you can take unlimited retakes until you find one you’re happy with. It’s a stress-free experience, and let’s be honest, most of us hate how we look in official photos. Doing it yourself gives you control over the process and outcome.
Cons of Using a Selfie Camera for ID Photos
One of the biggest drawbacks of using a selfie camera for ID photos is the inconsistent quality across devices. Not every phone has a top-of-the-line camera. While flagship models like the iPhone 15 or Samsung Galaxy S24 take stunning images, many budget or mid-tier smartphones don’t have the resolution, clarity, or processing power required for high-quality ID photos. Some may suffer from graininess, poor low-light performance, or oversaturated colors—all of which can get your photo flagged or rejected by official agencies like the DMV or Department of State.
The inconsistency also extends to how software processes images. Some selfie cameras automatically apply filters, smoothing effects, or facial enhancements even when you don’t ask for them. These effects may make your photo look nice on Instagram but violate the strict authenticity requirements for government-issued identification. That means two people could follow the same steps with different phones—and get very different results. Unfortunately, most users only realize this when their application is delayed or denied.
Here’s a cold, hard truth: government agencies reject thousands of photos each year due to non-compliance with photo standards. The most common culprits? Blurry resolution, bad lighting, improper background, or incorrect face positioning—all common in poorly taken selfies. The U.S. State Department, for example, is clear in its passport guidelines: “Selfies are not acceptable if they do not meet the photo requirements.” In other words, your favorite selfie might look great to you, but that won’t matter if it doesn’t match the specs.
The risk of rejection is not just annoying—it can be costly and time-consuming. For a passport application, rejection can mean mailing delays, added fees for reprocessing, or even missing a planned trip. For DMV renewals, it might mean having to come in person when you were hoping to renew online. These aren’t just hypotheticals—there are thousands of online forum posts and Reddit threads filled with stories of rejected ID photos due to selfies. So unless you’re meticulous about meeting every guideline, you’re rolling the dice with your submission.
Another major downside of using a selfie camera is the lack of professional lighting and studio-grade equipment. ID photos require very specific lighting—soft, evenly distributed, and shadow-free. Most homes just aren’t set up to meet those requirements. Overhead lighting, backlighting from windows, or a single lamp on one side of your face can all result in harsh shadows or uneven color tones. And once again, that’s a fast track to rejection by official agencies.
Yes, you can buy tools like ring lights or use editing apps to brighten your photo—but those still fall short of what you get in a photo studio. Professional photographers use calibrated cameras, light boxes, and software to ensure uniformity. Even small touches—like adjusting white balance or removing shadows—require experience. Without that, you’re left guessing whether your photo will pass inspection. Bottom line: unless you’re confident in your lighting setup and skills, a DIY selfie might not cut it.
| Feature | Selfie Camera (Smartphone) | Professional Studio | Risk of Rejection |
| Resolution | Varies by model (5–12MP+) | Always high quality | Moderate to High |
| Lighting Setup | Natural or basic artificial | Professional-grade | High |
| Photo Editing/Compliance | Manual or app-based | Done by pros | Low |
| Convenience | High (anytime, anywhere) | Requires visit | Low |
| Cost | Free (or near zero) | $10–$20+ | Low |
Real-Life Examples
When It Works – Passports and Licenses
Believe it or not, some people have successfully used selfie camera photos for passports and driver’s licenses. This is especially true in the age of digital applications, where you can upload an image from your phone directly to the relevant agency website. These successful cases usually involve users who take the time to read the guidelines carefully, follow every instruction to the letter, and use image formatting tools to ensure the final photo fits the specs. They use plain backgrounds, proper lighting, and turn off all filters and effects.
For example, tech-savvy applicants often use apps like “Passport Photo Booth” or “ID PhotoPrint” to resize and format their selfies. They may even print a test photo to see how it looks before submitting. In these situations, a smartphone selfie can work—but only with serious attention to detail. It’s not a casual snapshot. These success stories show that it’s not impossible, but it takes effort, the right equipment, and a solid understanding of the requirements to pull off correctly.
When It Fails – Rejected Submissions
On the flip side, the internet is full of horror stories from people who took a quick selfie, submitted it for their passport or license, and found themselves weeks later with a rejection notice. Common reasons? The background wasn’t pure white, their face was angled too much, there were shadows across their cheek, or the photo was too low-res. In one case, a user on Reddit shared how their passport renewal was delayed by over six weeks because their “filtered selfie” was rejected, and they had to resubmit a studio photo.
Another user trying to renew their license online received an email that their photo was “digitally enhanced” and therefore not compliant. That’s a major issue with newer phones—software often enhances photos automatically unless you shoot in RAW or Pro Mode. These stories serve as a warning: unless you’re willing to go the extra mile to ensure your selfie meets every requirement, it’s not worth the risk. A $15 studio session could save you from a month-long bureaucratic nightmare.